In trying to describe how to modify a standard Sea Perch so that we can use it with the Sea Hawk in our PORPOISE robotics program we find that words and even photographs aren't nearly clear enough given the limited time teachers and students have in class and in after school robotics clubs.
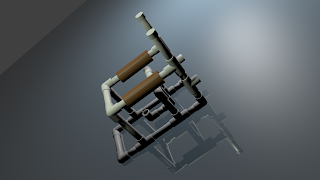
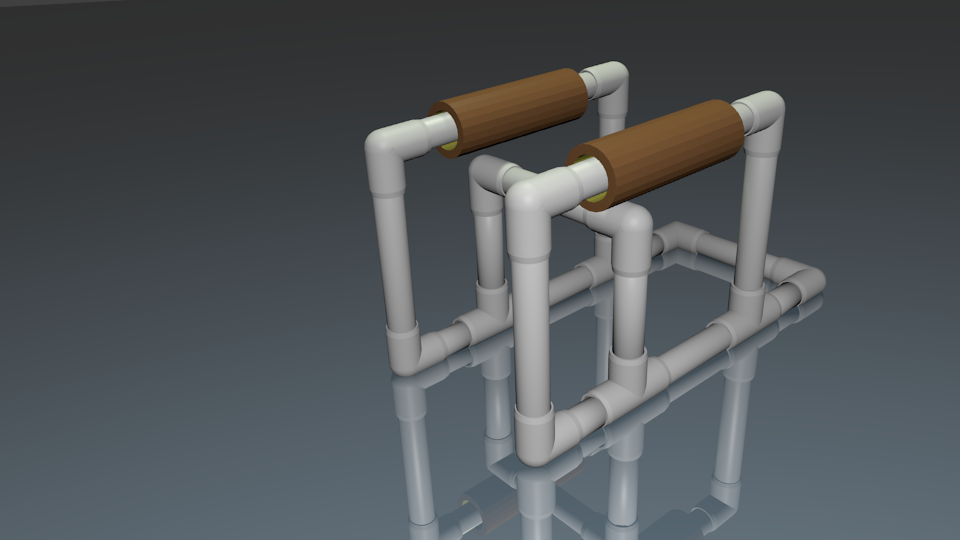
Since the modifications are rather simple when you have a model in front of you, we've gone ahead and created a 3D model as an .obj that you can use in any 3D program and will soon be posting it for downloading. In the meantime, these renderings from various angles should help you get a better sense of how to hack your perch and turn it into a vehicle that can dock with the Sea Hawk.
 |
| The first thing we do is cut the two 5 inch back sections of PVC into two 2 inch sections (save the 1 inch residuals for some other project!) and fit two Tees, one on each pipe, facing backward. These will be your new rear motor mounts! |
 |
| Next cut the 4.5" center pipe into two 1.75 inch pieces and insert another T here, facing down. |
 |
| Put a 2 inch piece of pipe in the T and place an elbow on it, facing forward. |
 |
| Place another 2 inch piece of pipe in the open end of this elbow, facing forward, and put another elbow on the horizontal forward facing pipe, pointing up. This is where you will mount your up/down motor. |
 |
| Remove the elbows from the rear of the Sea Perch and replace them with Tees so that there are open holes on the top. |
 |
| Put 4" pipes in each of the Tees and cap them with 1/2" caps. These will be the grappling grips that the robotic claws of the Sea Hawk will grasp. The caps ensure that the Sea Perch doesn't slip through the claws when they are closed. |
 |
| Replace the two elbows at the top of the front of the Sea Perch with 1/2" three way connectors and connect the space between them with a 4.5" piece of pipe. |
 |
| The new pipe crossing the top front of the Sea Perch is where you will eventually mount a camera and/or a spotlight for recording your underwater missions. |
 |
| Voila, your Sea Perch endoskeleton mod is done. You've pimped your perch! |


No comments:
Post a Comment