


Hi gang! This is your captain Dr. T speaking!
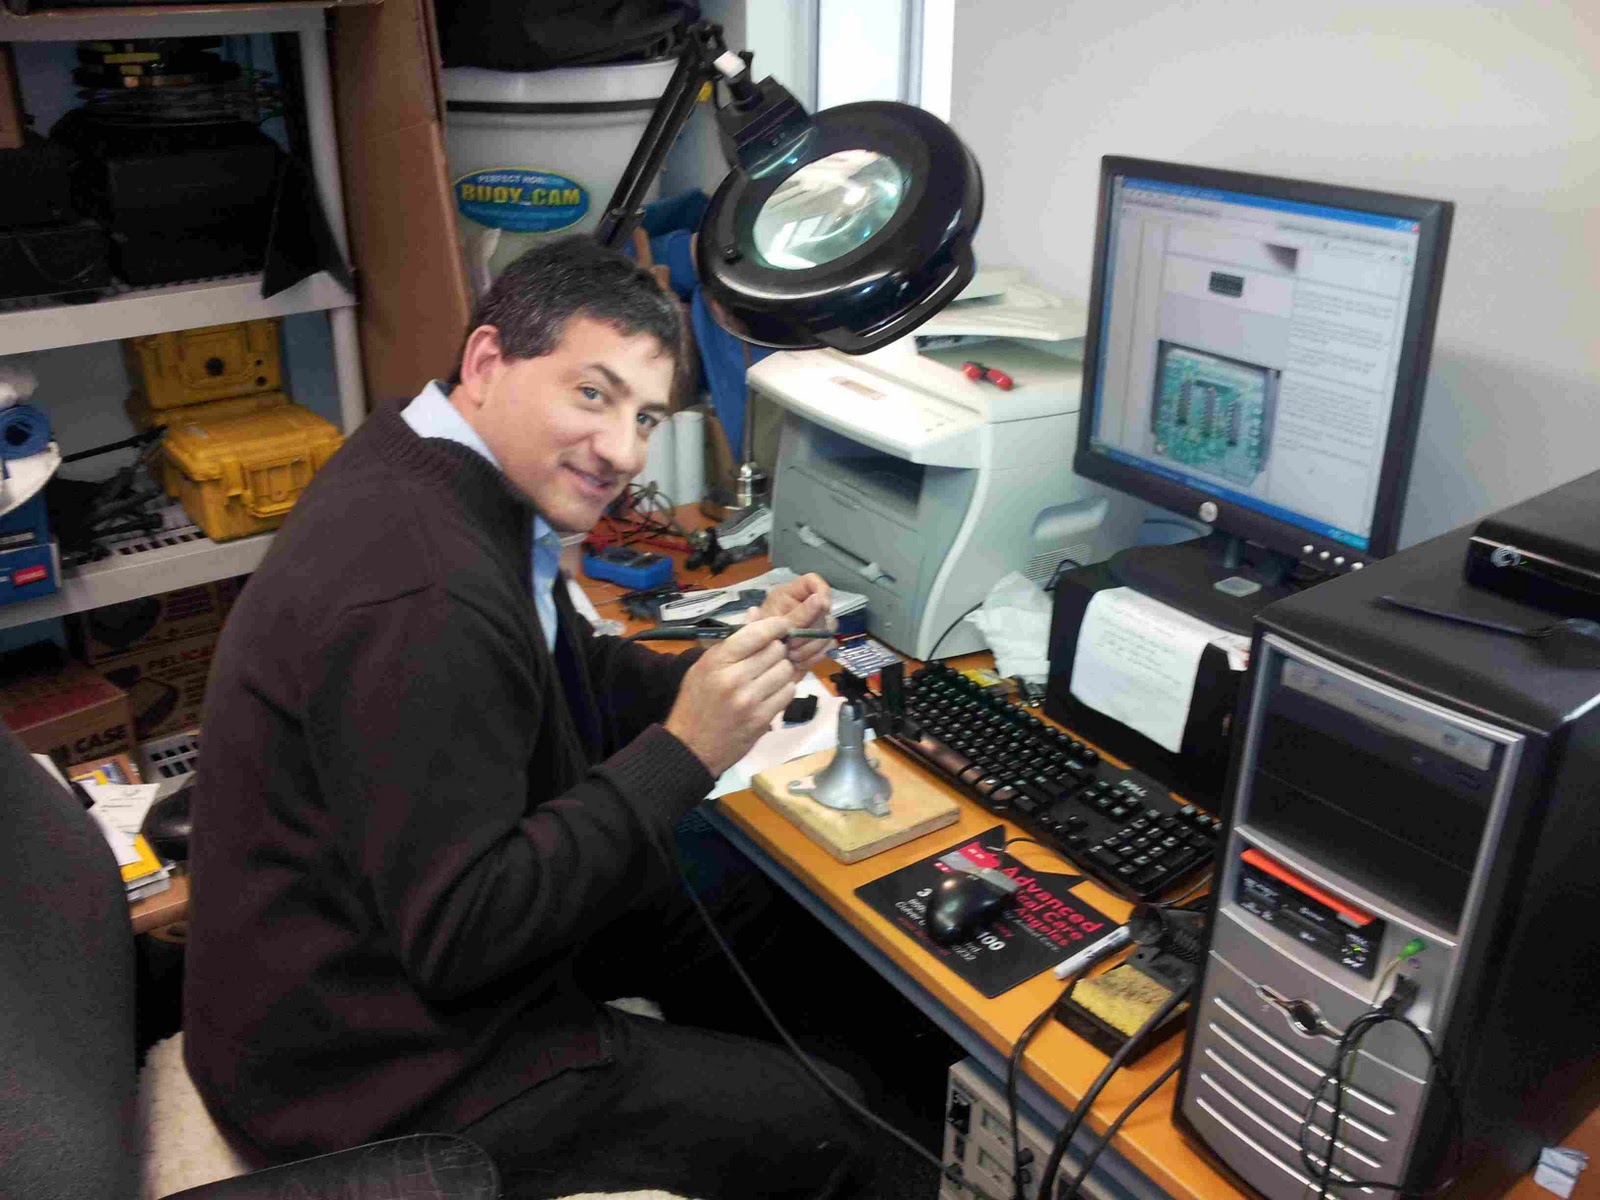
Yesterday afternoon from 3:30 to 5:30 students leading the PORPOISE program at Washington Preparatory High School started soldering their first Adafruit Motorshield and working through their first experience playing with the Arduino board and the Arduino Integrated Development Environment (IDE).


They learned about how to place polarized and non-polarized components (like capacitors and resistors) and experimented with the delay settings in the "Blink" Arduino sketch. They wired a red LED to the microcontroller using a breadboard, got familiar with how breadboards function and experimented with changing the blink rate of the LED.

EZMoney came up with a rule of thumb for placing components on the breadboard.
He said, "let's show our fellow students that the power rails form a line between the plus signs down a column and the minus signs down a column, and that is like the third rail on a railroad track. Touch it anywhere and it gives you power. But when you are putting components on the insides of the breadboard, make sure you look at the numbers and letters on the board. A component's pins shouldn't ever be plugged in so that the component touches two different letters. It should touch two different numbers."


Thanks, EZ, for noticing all that and coming up with that rubric!
For "Homework" (actually, we should call it "homeplay"!) we asked the crew to start playing around with Arduino boards, breadboards and Arduino programming.
"But how?" you are thinking, "We don't have enough boards to give one to each student to take home!"
The answer is to take an excursion into VIRTUAL REALITY!
Two different companies have come up with open source Arduino simulators.
This one from http://www.virtualbreadboard.com/ combines an Arduino and a breadboard but it costs $50:

This one from http://fritzing.org/ is combines an Arduino and a breadboard and costs $0:

Guess which one we are going with?
Installing in Ubuntu was easy. We downloaded from here and extracted (unzipped) the tar.bz file into a new folder we created in the Home folder called "FritzingforArduino" and then simply double clicked on the Fritzing.sh file and clicked on "Run" and it created a Fritzing application.
So now our students can do all their Microcontroller and breadboard testing without spending a penny on hardware and get real familiar with both the programming and electronics side, safely, before committing to application on the real aquatic robot!
And what of the robot itself?
Finally, we unveiled Motion Picture Marine Engineer Brent Spencer's latest design for a low cost surface craft, this time using water bottles as flotation pontoons (the students agreed last week that water bottle trash is despoiling the ocean environment, so we should use it to help clean the place up -- fighting water with water?!)

The idea with the latest Sea Sparrow design is that the lowest cost easy-entry craft wouldn't need it's own motors -- it would mate with the Sea Perch and the Sea Perch motors would propel it through the water to the desired location.

Once the Sea Sparrow reached the location, robotic grippe claws would release the Sea Perch, which would descend underwater to accomplish it's mission, storing data from the MIT Sea Perch Sensor Suite on the SD card.

Fun!
HACKED from Boatduinode by Andy 'Tuna' Harris:
ReplyDelete* f (activates rear motor in forward motion)
* r (activates front motor in right direction)
* b (activates rear motor in backward motion)
* l (activates front motor in left direction)
* s (stops rear motor)
* a (aligns front wheels motor)
* S (stops both motors)
*
* Note that pulling the pins LOW activates the motors, and
* pulling them HIGH stops them. I have no clue why, so I created
* power_on() and power_off() helper functions to make it less
* confusing.
int car_forward = 8;
int wheels_right = 9;
int wheels_left = 10;
int car_backward = 11;
int i;
void setup() {
Serial.begin(9600);
pinMode(car_forward, OUTPUT);
pinMode(wheels_right, OUTPUT);
pinMode(car_backward, OUTPUT);
pinMode(wheels_left, OUTPUT);
digitalWrite(car_forward, HIGH);
digitalWrite(wheels_right, HIGH);
digitalWrite(car_backward, HIGH);
digitalWrite(wheels_left, HIGH);
}
void power_on(int pin)
{
digitalWrite(pin, LOW);
}
void power_off(int pin)
{
digitalWrite(pin, HIGH);
}
void loop()
{
if (Serial.available() > 0) {
switch(Serial.read()) {
case 'f':
power_off(car_backward);
power_on(car_forward);
Serial.println("rear motor activated, moving forward");
break;
case 'r':
power_off(wheels_left);
power_on(wheels_right);
Serial.println("front motor activated, wheels turn right");
break;
case 'b':
power_off(car_forward);
power_on(car_backward);
Serial.println("rear motor activated, moving backward");
break;
case 'l':
power_off(wheels_right);
power_on(wheels_left);
Serial.println("front motor activated, wheels turn left");
break;
case 's':
power_off(car_forward);
power_off(car_backward);
Serial.println("rear motor stopped");
break;
case 'a':
power_off(wheels_right);
power_off(wheels_left);
Serial.println("front motor stopped, wheels are aligned");
break;
case 'S':
power_off(car_forward);
power_off(car_backward);
power_off(wheels_right);
power_off(wheels_left);
Serial.println("Both motors stopped");
break;
}
}
}