Monday, April 16, 2012

How much bot could an Ardbot bot...

...if an ardbot could bot ard?


Or...

... if you want to make a robot craft that isn't really hard...?


After attending the L.A. Robotics Club Ardbot build on Easter Saturday, expertly led by Michael Belanger (whose schematics and code are all generously available here)  and then replicating the workshop at both Washington Preparatory High School and Venice High School later in the week, we determined that, young or old, brave or bold, the Ardbot provides the best platform for rapidly engaging students, teachers, parents and community members in Arduino based robotics and for developing and testing the code and behaviors we want our Sea Perch/Sea Hawk to do.

With this in mind, then, we now formally recommend the Ardbot build as an essential piece of our curriculum and 12 step plan for aquatic robotics, coming right after the Sea Perch build and working concurrently with the wiring of a Sea Perch junction box to be used with the Arduino.  In this plan students test out code on the Ardbot, and after achieving functionality on this rolling classroom platform, learn to modify that code for the relevant robosub or roboboat motor shield (whether used with Sea Perch or Sea Hawk).

Both Washington Prep High School students and Venice High students completed the basic Ardbot build and testing in under 2 hours. In the third hour they were able to control the Ardbot from the keyboards of their computers using an Xbee wireless shield.  As Ian, one of the students from Venice High Robotics Club who hung out working after school  until the end declared "I am so glad I stayed until we got to the really cool part!!".

Ian (in the orange pi shirt holding the Ardbot) with Joe and Carlos at Venice High, run the Ardbot from keyboard commands sent wirelessly using the Xbee. Ian declared "I am so glad I stayed until we got to the really cool part!"

Here is Michael Belanger's schematic for wiring the Texas Instruments SN754410 Dual H-Bridge for the LA Robotics Club Ardbot:


 In the video below, Carlos and Ian run the Ardbot wirelessly with the same code we will be using to steer the Sea Hawk:


The code Google volunteer Joe Davorin helped us mod from Andy Harris' Boatduinode so we could  run the  Ardbot from the Arduino IDE serial monitor is as follows:

//this is the same Andy Tuna Harris Boatduinode code we use for
 //Sea Hawk now ported 
// to the Ardbot H-bridge via Arduino so 
//that the students can test out their Sea Hawks in the classroom //before testing them in the water!


const int motorAPWM = 3;
const int motorAL1 = 2;

const int motorAL2 = 4;

const int motorBPWM = 10;
const int motorBL1 = 9;
const int motorBL2 = 11;


void setup()
{
Serial.begin(9600);

pinMode(motorAPWM, OUTPUT);

pinMode(motorAL1, OUTPUT);
pinMode(motorAL2, OUTPUT);

pinMode(motorBPWM, OUTPUT);
pinMode(motorBL1, OUTPUT);
pinMode(motorBL2, OUTPUT);

// stop the motors
analogWrite(motorAPWM, 0);
analogWrite(motorBPWM, 0);
}

void loop()
{

if (Serial.available() > 0) {
switch(Serial.read()) {
case 'w':
digitalWrite(motorAL1, HIGH);
digitalWrite(motorAL2, LOW);
analogWrite (motorAPWM, 255);
digitalWrite(motorBL1, HIGH);
digitalWrite(motorBL2, LOW);
analogWrite (motorBPWM, 255);
Serial.println("Both motors activated, moving forward");
break;
case 's':
digitalWrite(motorAL1, LOW);
digitalWrite(motorAL2, HIGH);
analogWrite (motorAPWM, 255);
digitalWrite(motorBL1, LOW);
digitalWrite(motorBL2, HIGH);
analogWrite (motorBPWM, 255);
Serial.println("Both motors activated, moving backward");
break;
case 'a':
digitalWrite(motorAL1, HIGH);
digitalWrite(motorAL2, LOW);
analogWrite (motorAPWM, 255);
digitalWrite(motorBL1, LOW);
digitalWrite(motorBL2, HIGH);
analogWrite (motorBPWM, 255);
Serial.println("Both motors activated, turning left");
break;
case 'd':
digitalWrite(motorAL1, LOW);
digitalWrite(motorAL2, HIGH);
analogWrite (motorAPWM, 255);
digitalWrite(motorBL1, HIGH);
digitalWrite(motorBL2, LOW);
analogWrite (motorBPWM, 255);
Serial.println("Both motors activated, turning right");
break;

case 'e':
digitalWrite(motorAL1, HIGH);
digitalWrite(motorAL2, LOW);
analogWrite (motorAPWM, 255);
analogWrite (motorBPWM, 0);
Serial.println("Left motor activated, moving forward");
break;
case 'q':
digitalWrite(motorBL1, HIGH);
digitalWrite(motorBL2, LOW);
analogWrite (motorBPWM, 255);
analogWrite (motorAPWM, 0);
Serial.println("Right motor activated, moving forward");
break;
case 'c':
digitalWrite(motorAL1, LOW);
digitalWrite(motorAL2, HIGH);
analogWrite (motorAPWM, 255);
analogWrite (motorBPWM, 0);
Serial.println("Left motor activated, moving in reverse");
break;
case 'z':
digitalWrite(motorBL1, LOW);
digitalWrite(motorBL2, HIGH);
analogWrite (motorBPWM, 255);
analogWrite (motorAPWM, 0);
Serial.println("Right motor activated, moving in reverse");
break;

case ' ':
analogWrite (motorBPWM, 0);
analogWrite (motorAPWM, 0);
Serial.println("Both motors stopped");
break;
}
}

}

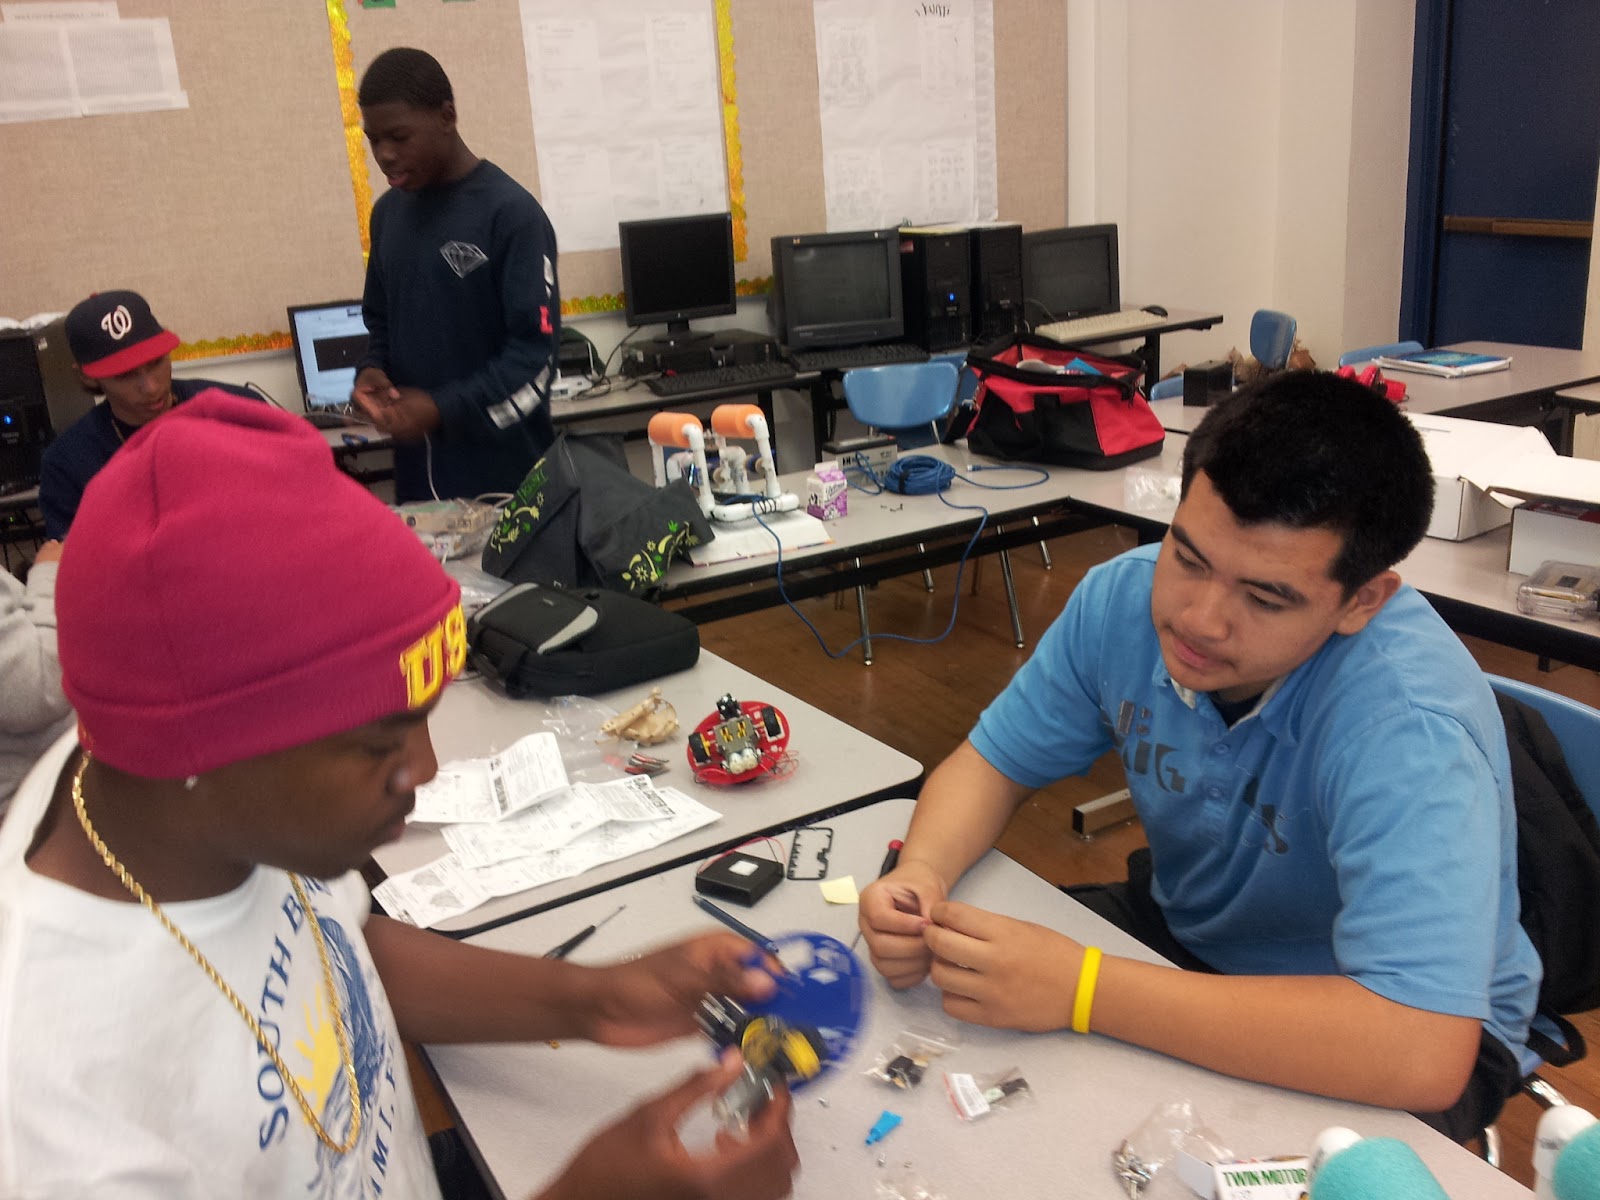
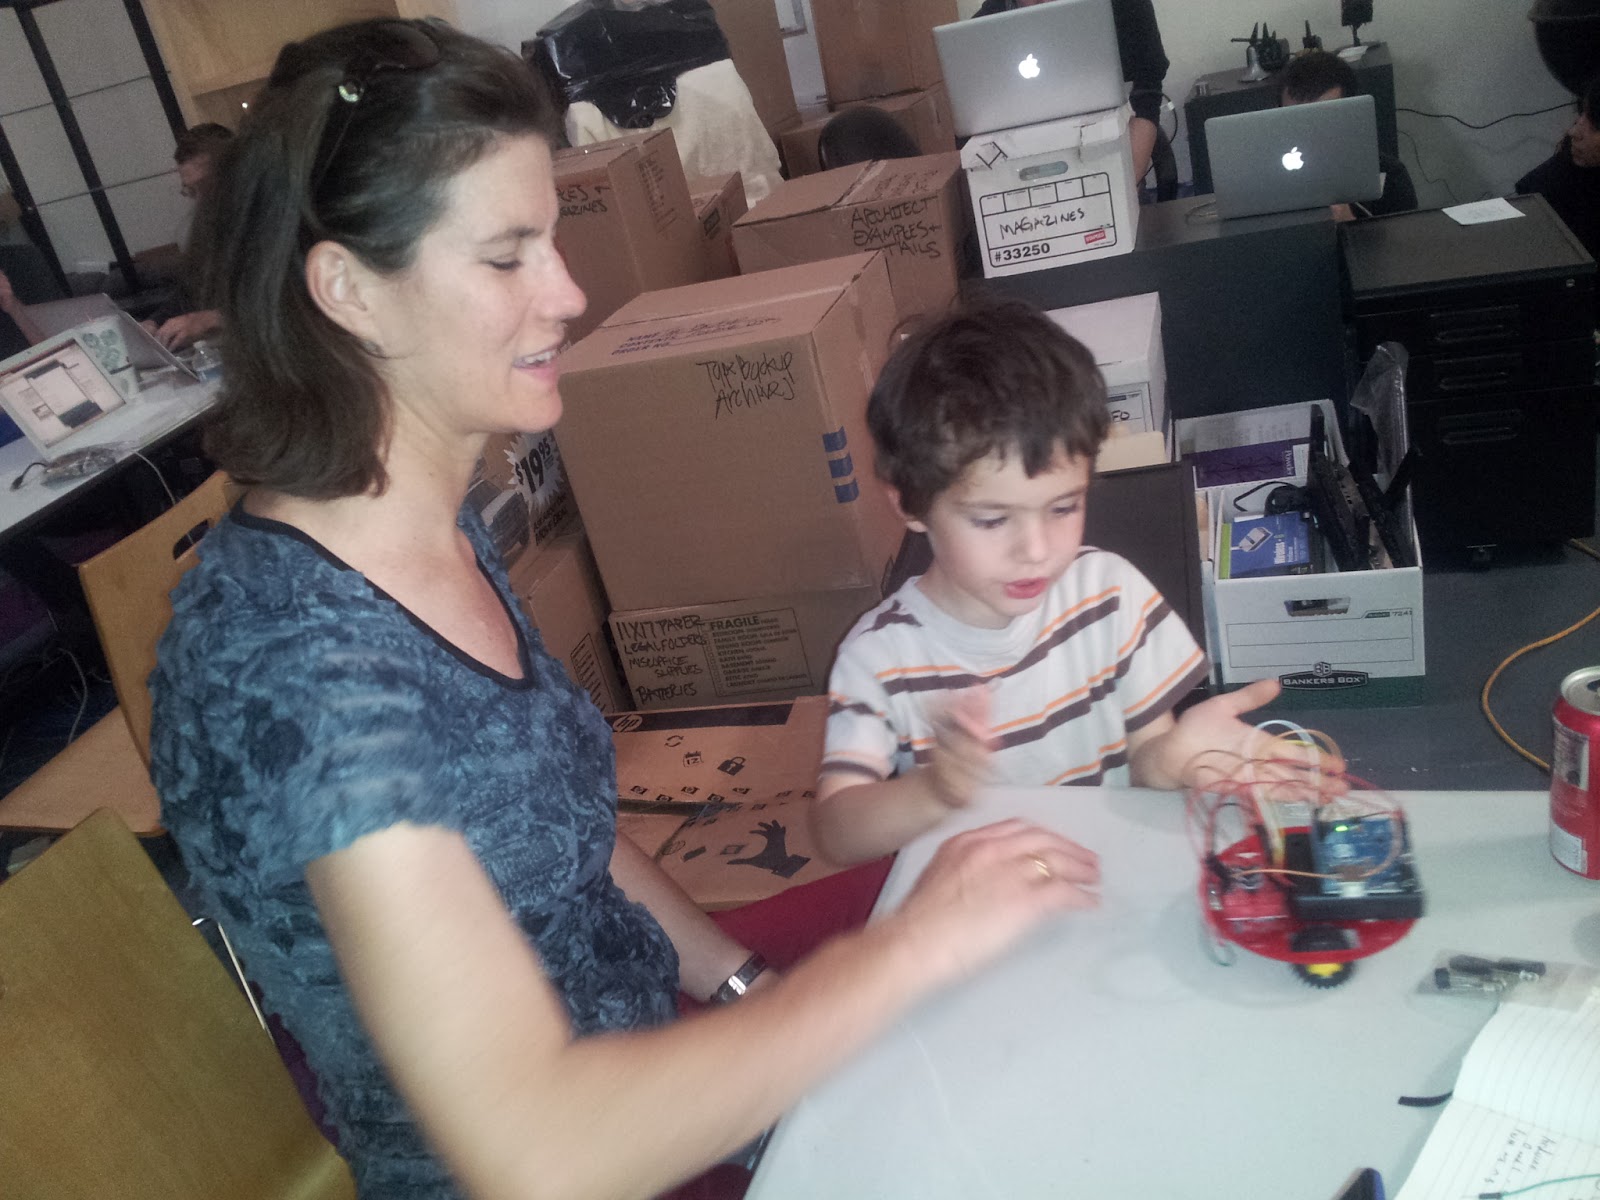
Below are some random pictures from our Ardbot builds at the LA Robotics Club, Washington Prep High and Venice High:


Tuesday, February 21, 2012

Take me to the water...

You'll have to check back here for the evolving (and never final!)  results of "water-proofing" (or is that "water-proving"?)  -- for right now we don't have much up here, but this is where we will post videos and descriptions of the sacred process of trial and error as we test things out in the liquid phase of  that universal solvent that makes this planet unique in the solar system, H2O....


Testing the Sea Perch 0.7 amp Jameco motors mounted on the Sea Hawk.
At Mother's Beach in Marina Del Rey in California EZ Money Harper, his dad Roy Harper and I tested how the Sea Hawk drives with Sea Perch motors (Jameco .7 Amp motors) running off of a 9.6 V NiCd rechargeable hobby battery. They drain the battery fairly quickly and the craft doesn't move all that fast, but it does work.  One issue we found we needed to resolve is to make sure we get counter-rotating propellers. In this test we had propellers that turn in the same direction and of course this made the boat turn slightly to the right.

Here EZ Money describes the results of one of our motor tests. We had the motors set up so they would counter-rotate, but since we had the same propeller on both motors it merely turned the craft around in circles.  We reversed polarity so both were pushing but this, of course, biased the craft to the right.  Since then we have installed a counter-rotating propeller on the right motor and now it should go straight. This is a good learning experience!


Below are earlier tests of the craft, starting with a series of  flotation tests.


 First Float Test of Sea Hawk Surface Craft at Mother's Beach, part 1 of 5

  First Float Test of Sea Hawk Surface Craft, part 2 of 5


  First Float Test of Sea Hawk Surface Craft, part 3 of 5

  First Float Test of Sea Hawk Surface Craft, part 4 of 5

 First Float Test of Sea Hawk Surface Craft, part 5 of 5


The above video shows that, yes, you can test out your Sea Perch in your bathtub - you just can't dive very deep.  The up and down thrusters can also make a bit of a... splash.   As the Hitch-hiker's Guide to the Galaxy tells us, "don't panic... and always carry a towel."

 The following two videos show the appropriate winter use of a condominium swimming pool is for testing your Sea Perch/Sea Hawk/Manta Ray.  Wet suit optional.


Pimp your Perch!

 The Annual  Sea Perch Stakeholder's meeting will take place in Newport Rhode Island March 12 and 13, 2012.  This is an opportunity to share ideas for hacking the sea perch (Daryl Davidson, president of the AUVSI called it "pimping your perch" -- has kind of a ring to it!) and improving its functionality.

One of the things to come out of previous idea sharing was the new technique of using hand warmed toilet bowl wax (oh the indignity of it all! :) ) instead of melting it into a liquid, which saves time and equipment.

It will be great to see what folks have come up with this year!

Unfortunately for me,  I (T.H. Culhane) will be unable attend this go-round as I have a previous commitment with the U.S. Embassy to teach the engineering of home and community scale biofuel reactors in Israel and Palestine March 11 through 16 , serving my country by helping build a foundation of resource security (energy, water and waste management) that can help dissolve tensions and provide stepping stones for a brighter common future  (and this after spending February 25 through March 10 doing similar trainings in two remote parts of the Philippines.)  But whether it is sharing ideas to improve the engineering of the  Sea Perch or to use engineering education to improve health, hygiene, clean energy and the existential challenges of providing food and water, this kind of idea sharing is part and parcel of the same ethos:  "Yes WE can -- we can make the world a better place and improve our educational systems  if we all pull together and are generous with the fruits of our discoveries."

 This is the core of the PORPOISE purpose!

David Grober of Motion Picture Marine  will be attending the Sea Perch Stakeholder's meeting, and he will share some of the ideas we have been working with as we develop our program with Washington Preparatory High School in Los Angeles, CA, Venice High School in Venice, CA and WMST Public Charter School in Washington DC.

One of the is an innovation Motion Picture Marine's engineer, Brent Spencer, came up with for the Sea Hawk/Manta Ray robo-boat (which uses the same size motor as the Sea Perch (albeit with double the amperage for greater speed on the surface of the water) housed in the same wax filled film canisters, which the students at WMST delightedly decided could be applied to the Sea Perch too.

It involves making the Sea Perch motors easily removable and hence replaceable in competition when something goes wrong -- like the inevitable loss of a propeller!  We can't tell you how many times we have seen the propellers, which are glued or epoxied to  the thin motor shaft, suddenly spin off into the wild blue yonder.  Or how many times we've watched one motor run slower than the other even though the code is the same and the voltage and current supplied are the same (this happened when we were demonstrating the Sea Hawk motors to the ONR at WMST last week!) -- every motor is different, try as we can for uniformity, and things like this can make or break a team's competitiveness!

So our idea was to make the motors "hot swappable", and, just as racing cars can pull into a pit stop and have their tires replaced and get right back into the race, the Sea Perch (and Sea Hawk) can be hauled out of the water, the defective motor pulled and a new one popped in and, 'voila', you are back in the game! And best of all, the motors no longer need to be mounted insecurely with zip ties -- they are plugged securely into T's.

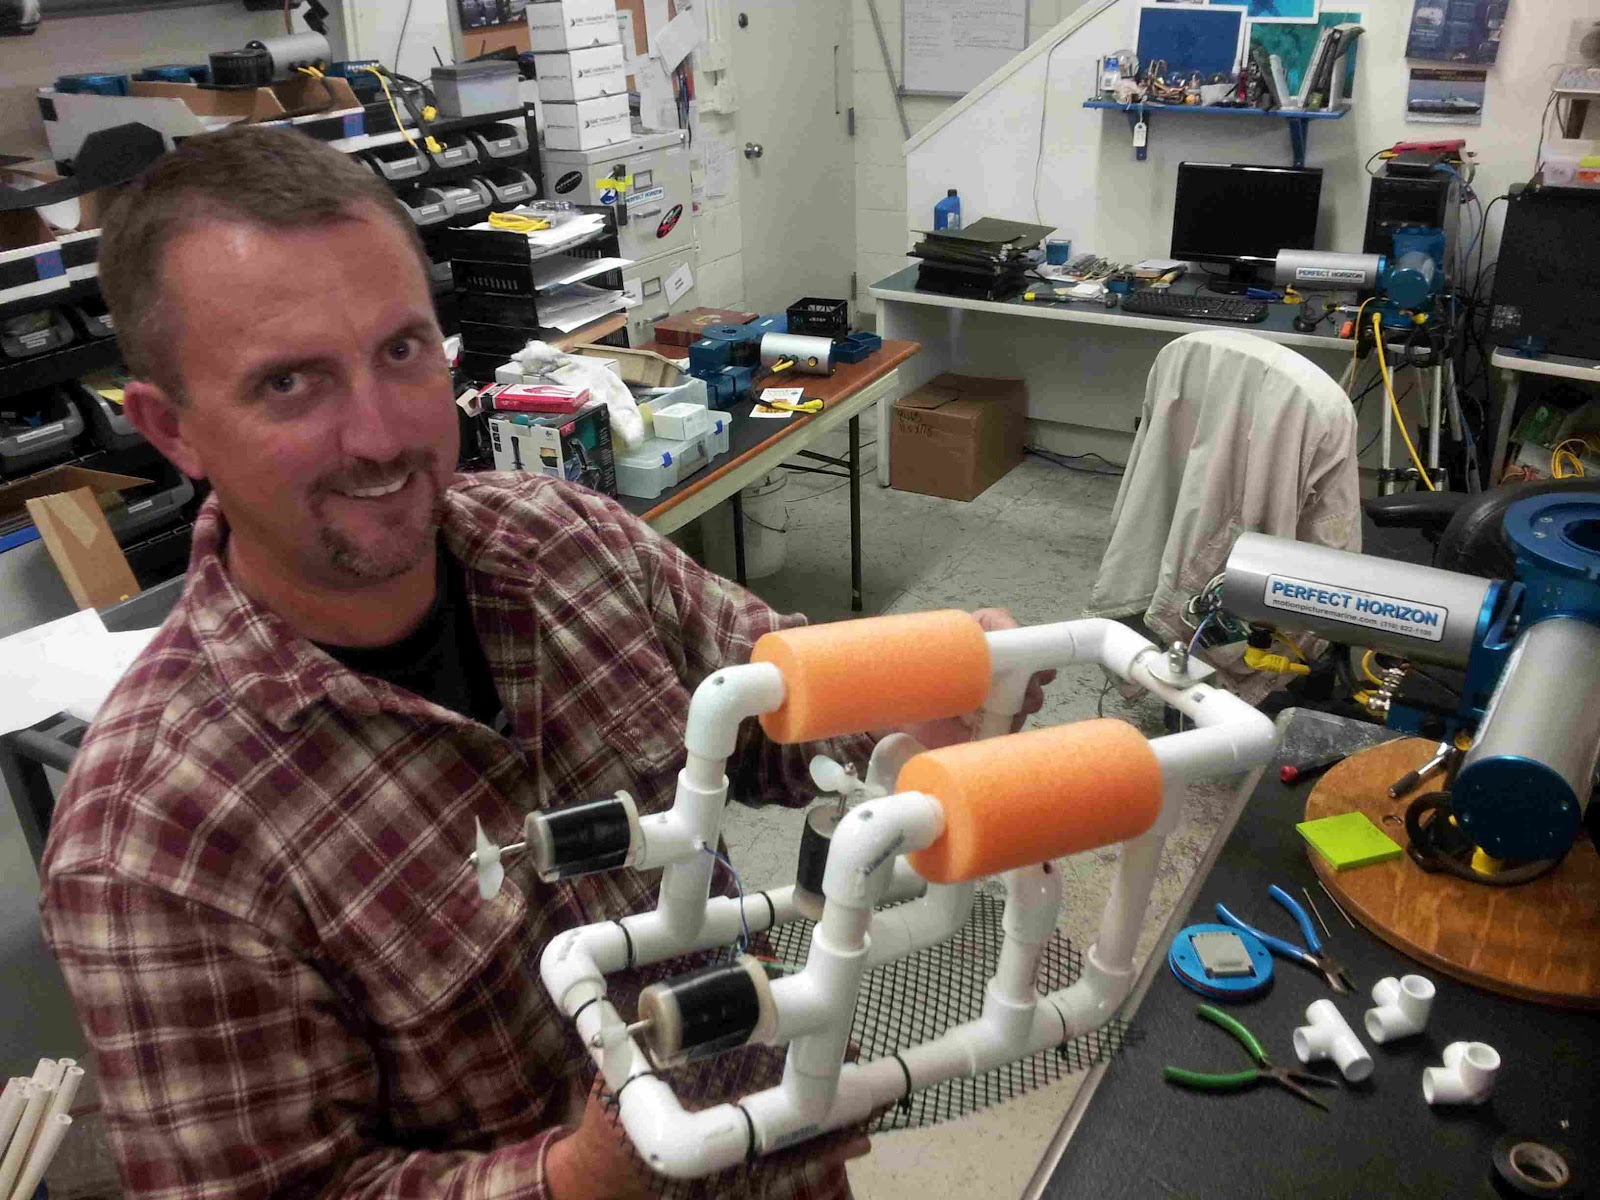
Motion Picture Marine/Perfect Horizon Engineer Brent Spencer holds up a Sea Perch with the motors mounted on Ts for easy swappability.


Brent says, "In a competitive event you want things to be easy to replace.  When I'm out on a movie shoot with our Perfect Horizon Robotic Camera Stabilizer, and we are miles out to sea, if something goes wrong we can't do the trouble shooting on a boat that is pitching and rolling and bathed in salt spray. So we make our units with "hot swappable" parts that can be popped out and in.  Similarly, our idea for the Sea Hawk and the Sea Perch was to make it so the motors can be pulled on and off in a jiffy, in any conditions! What works for the industry should also be part of the student's curricula!"


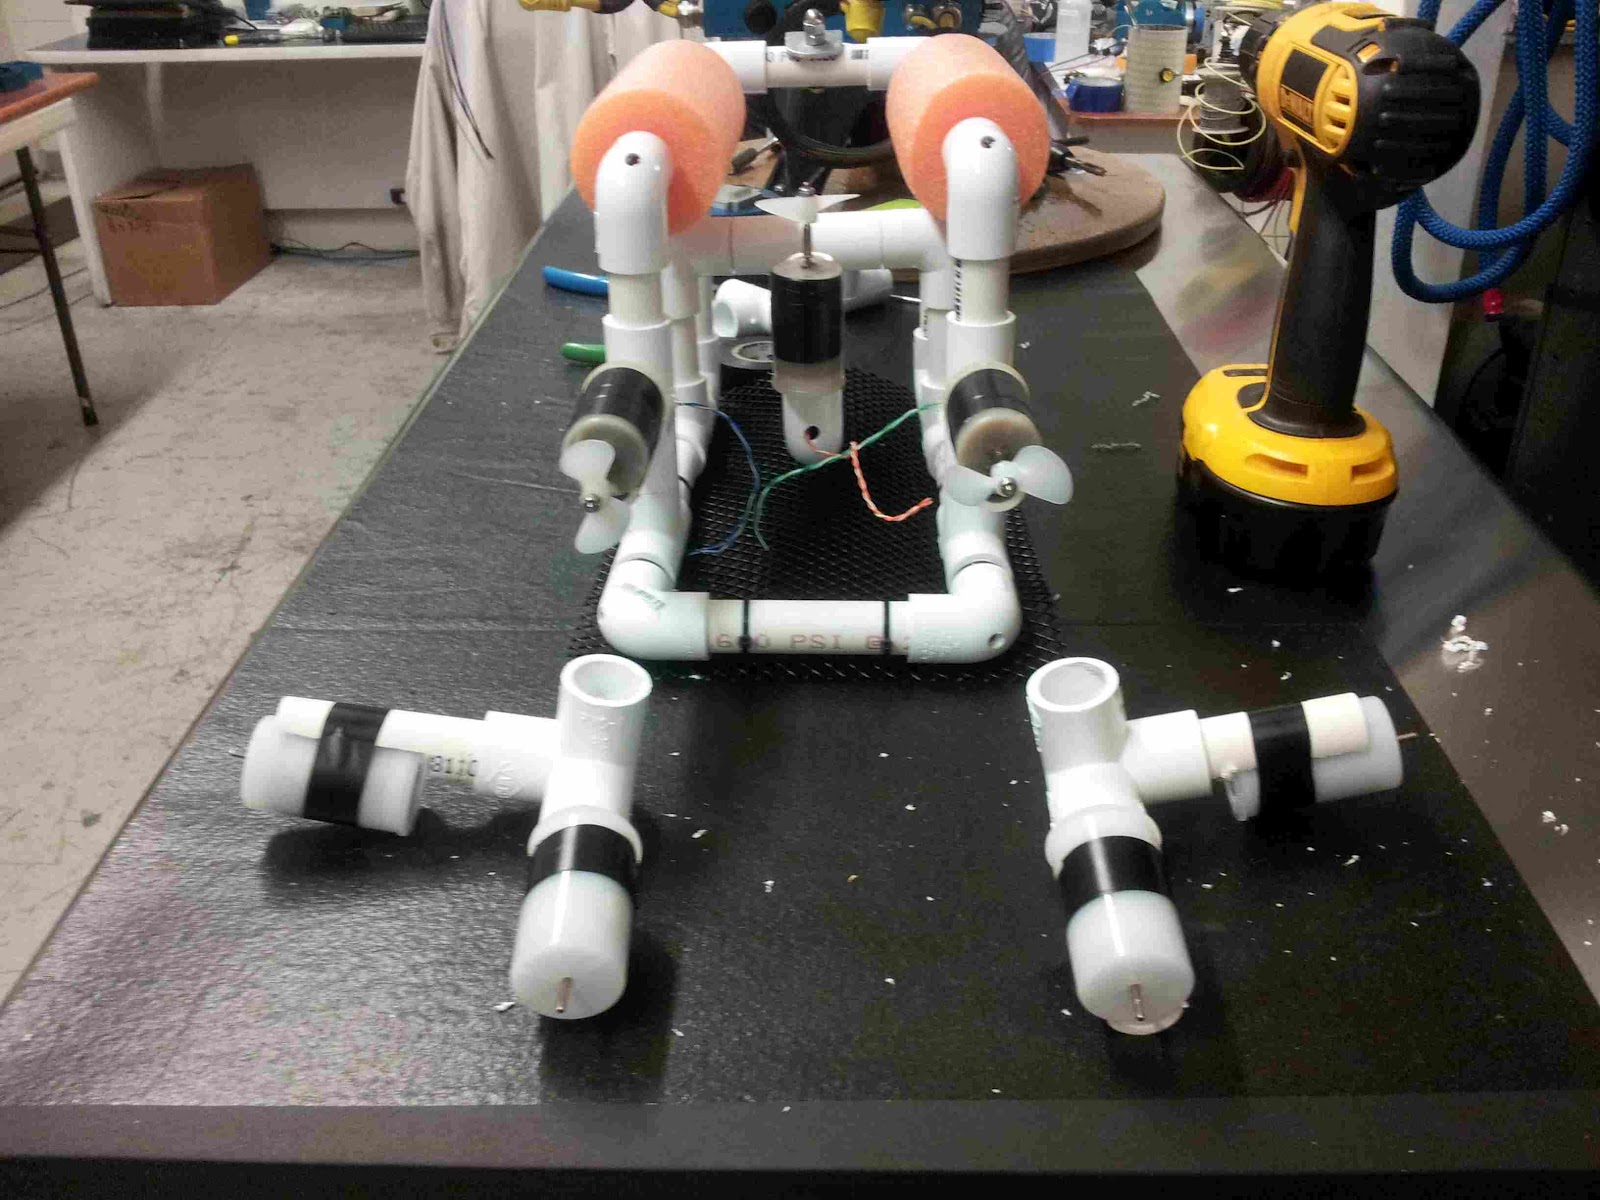
 The motors are taped tightly to a 3 inch piece of PVC that has 2 inches half cut to provide a mount, and plugged into  T's.  You can also see another improvement we make to our Sea Perch's -- a camera mount on the bow for underwater video collection. After all, we are "Motion Picture Marine" and the Sea Perch is no toy. Properly pimped, it can be  a great tool for real underwater photography, as an upcoming episode of Sci Girls, whose photographers we me with in DC last week,  illustrates!


 The pictures below show how we prepare the 3 inch (7.62 cm) 1/2" pvc pipes for motor mounting:


 The idea for using this solution on the Sea Perch came from Brent Spencer's concept for creating such mounts for the Sea Hawk.  Below we see the start of T.H. Culhane and EZ Money Harper's idea for making the  Sea Hawk an amphibious vehicle; using a three way 90 degree piece TWO, count 'em, two motors can be put on the Sea Hawk boat -- rear thrusters with propellors for moving in the water, and side motors with wheels on them, for rolling around the classroom!


 By giving the Sea Hawk amphibious capability, students can test their motor shield Arduino code in the classroom, working out how to best make use of the Ping Ultrasonic sensors and PIR and IR sensors and compass and GPS and bluetooth and Xbee shields without risking the boat in the water.  They can drive the craft or let it move autonomously in the safety of a smooth dry land environment before taking it out to the tricky environment at sea.  This also permits more schools to participate that don't have easy access to water.  The hope is that everyone can get started in aquatic robotics.  Eventually the craft can migrate to the water, and anyway, if we wait long enough, given sea level rise due to climate change, the water will come to us... so it doesn't hurt to get started.

Waterworld inevitable? Just ask Kevin Costner! We'll work on the "how to build your own gills" tutorial as soon as we've figured that one out!


Here the Sea Perch is docked with the Sea Hawk. In this Sea Perch the motors are using their traditional zip tie mounts. But note that the Sea Hawk itself uses Sea Perch type motors mounted on the T junction with the 3 inch pvc pipe mount.


As you can see from the above pictures, the Sea Hawk itself, as a roboboat platform, is essentially a way pimped out Sea Perch.  It evolved from the same endo-skeleton of 1/2" PVC and it uses the same motors waterproofed with  wax inside plastic film canisters  (though we use motors that appear identical in size and shape but  that draw 1.2 Amp rather than 0.6).  Once you have the motors in the canister you can add wheels or propellers as you see fit.


VENICE HIGH PIMPS THEIR PERCH

On February 23rd at the Robotics Club meeting at Venice High School the students started pimping their perches for use with their new Sea Hawks.


They started by removing the back pipes and cutting them into 2 inch sections and inserting a T in between. 


Dana Wieland shows the Perch with the T's ready for mounting the rear motors.


Next  she prepares the Perch for the new mount for the up/down motors.


While Carlos works on the Arduino program for the robotic claws that will hold the Sea Perch to the Sea Hawk.


Next Dana mounts the RGB/IR camera on the Sea Perch for its underwater photography mission.


Having completed a Sea Hawk frame and having attached the Sea Hawk skin that Dana cut the previous week, Jonathan makes suggestions for how to make the Sea Perch mate with the Sea Hawk.


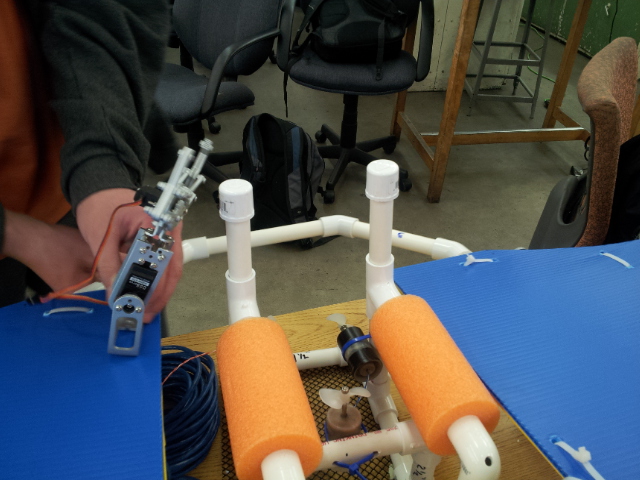
Carlos and Ian experiment with attachements on the Sea Perch that will enable the robotic claws on the Sea Hawk to grab it and hold it in place.


Ian determines that the Sea Hawk should have extra PVC endoskeletal  support for the Robotic Claw Servos...


Monday, February 20, 2012

Logos and Animations


The PORPOISE project is interdisciplinary and as such invites all participants to use their artistic skills to make the field of aquatic engineering fun, exciting, engaging and easy to communicate.

On this page we will post some of the works in progress that our members are creating for the initiative:

These early animations by 9th grader Benjamin Standfield give an example of how a passion for 3D animation and game creation can enhance the program:

1.  Sea Perch docking in the Sea Hawk; concept done in Blender:


2. Assembly of the Sea Perch, concept, done in Blender.


And here is the original PORPOISE concept art by T.H. Culhane, using the yin-yang symbol as the basis for the programs symbology:

Dwayne, a student at WMST Public Charter School in Washington DC, came up with this variant on the theme, arguing that to be true to the ethos of our program, both halves of the yin-yang should be utilized in the logo.  In his concept art, one half represents the fish, a symbol of our common origins and the underwater aspect of our program, and the other is the cetacean (the porpoise) which evolved from the fish (the Sea Perch?) and now amphibiously inhabits two worlds, but remains connected to the fish from which it was birthed. Note also that Dwayne used the yin yang form for the eyes as well, lending the creatures more personality.   This is an example of how the program itself is an evolutionary creature, drawing strength and inspiration from you, its members!


Below, Dwayne begins to sketch out the Sea Perch for 2D animation and tutorials:


More to come! Please feel free to share your own artwork and idea!