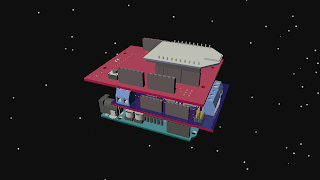
The second part of the stack is the ADAFRUIT MOTOR SHIELD whch comes in a kit from Adafruit and which you will solder together yourself. It is the only inexpensive motor shield we know that can handle up to 4 motors and 2 servos, making it ideal for the Sea Perch. Note that the Adafruit Motor shield needs its own battery source, which should be an 11.1 V to 12 V hobby battery. Make sure you remove the jumper on the shield so that you isolate the power from the Arduino board because you DO NOT want to power the motor shield from the Arduino power supply!
ONCE AGAIN: MAKE
SURE YOU REMOVE THE JUMPER ON THE JUMPER PINS SHOWN ABOVE SO THAT YOU CAN USE A
SEPARATE POWER SUPPLY FOR THE MOTORS AND A SEPARATE POWER SUPPLY FOR THE
ARDUINO. The Adafruit Shield comes with the little black plastic jumper
in place here and this would make both the Arduino and the Motor Shield
use the same power supply (either plugged in to the terminals on this
shield or into the barrel jack of the Arduino). The problem with this
is possible motor noise interference and erratic behavior on the part of
the Arduino. Safest is to remove the jumper so your Adafruit Shield
looks like ours in the picture above. You can read more about the topic here: http://forums.adafruit.com/viewtopic.php?f=31&t=26226 | |


No comments:
Post a Comment